How to Add Photos to Google Maps: A Step-by-Step Guide
Learn how to add photos to Google Maps step by step. Tips, best practices, and common mistakes to avoid. Updated for 2026.
How to Add Photos to Google Maps
Google Maps is an essential tool for businesses looking to strengthen their online presence. Adding photos to your Google Business Profile (GBP) is one of the most effective ways to visually appeal to potential customers. In this guide, we will walk you through how to add photos to Google Maps step by step.
Why Is It Important?
Adding photos to Google Maps not only increases your business's online visibility but also helps you make a more attractive and trustworthy impression on potential customers. Research shows that high-quality, engaging visuals increase the rate at which users choose businesses.
Photos allow customers to better understand your business's atmosphere, products, and services. As a result, your visitor count increases and customer loyalty grows stronger. For businesses like restaurants, cafes, and shops, visuals play a critical role in customers' decision-making processes.
From an SEO perspective, adding photos contributes to your business ranking higher in search results. Google values visual content to enhance user experience, which presents a great opportunity for promoting your business.
Step 1: Preparation
Before starting the photo upload process, it is important to do the right preparation. First, decide which photos you want to upload. Selecting photos that cover various aspects such as your business's general appearance, interior layout, and most popular products or services is a good strategy.
Photo quality is also extremely important. By using high-resolution, clear images, you can leave a professional impression. Also, remember that photos should be up to date. Customers want to see what your business looks like today, so avoid outdated or no longer relevant images.
Finally, check the file formats of your photos. Google Maps supports photos in JPEG or PNG format. Make sure your photos are in one of these formats.
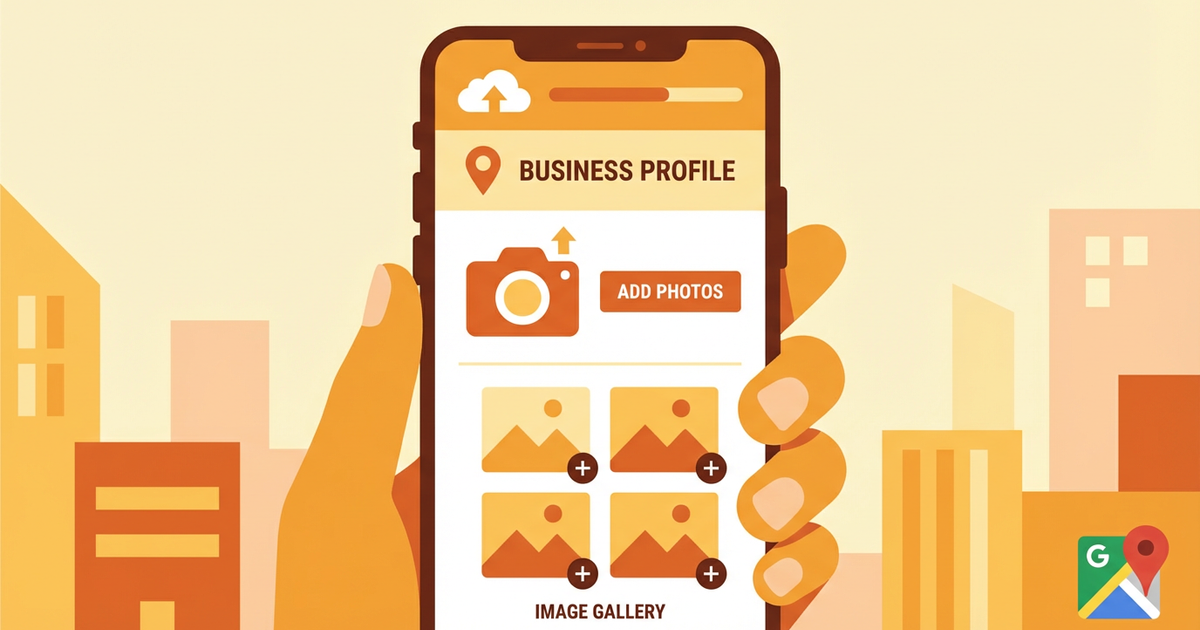
Step 2: Uploading
After completing the preparation phase, you can proceed to upload photos to your Google Business Profile. Follow these steps to easily complete the process:
- ▸
**Sign In to Your Google Business Profile:** First, sign in to your Google Business Profile (GBP) using your Google Account. This step is required to upload your photos.
- ▸
**Find the Photo Upload Option:** After signing in, open your business profile and click on the "Photos" tab in the left menu. This section is where you can upload and manage your photos.
- ▸
**Add Photos:** Click the "Upload Photo" button and select the photos you want to upload from your computer or mobile device. Organizing your photos into the correct categories makes it easier for users to find what they are looking for.
- ▸
**Categorize Your Photos:** Place your photos in appropriate categories such as "Cover Photo," "Profile Photo," and "Additional Photos." The cover photo should reflect the overall appearance of your business.
Step 3: Review
After uploading your photos, make sure they appear correctly. Check how your photos look on your business profile and make adjustments if necessary. Remove any incorrectly uploaded or unsuitable photos to ensure your profile looks professional.
Also, check whether your photos have been approved by Google. Sometimes photos are reviewed for compliance with Google's policies and may go through an approval process.
Common Mistakes
Common mistakes during the photo upload process can damage your business's online reputation. Here are some frequent errors to avoid:
- ▸
**Low-Quality Photos:** Low-resolution and blurry photos can leave an unprofessional impression. Always use high-quality, clear photos.
- ▸
**Incorrect Categorization:** Placing your photos in wrong categories can negatively affect the user experience. Make sure each photo is classified in the correct category.
- ▸
**Outdated Photos:** Old or no longer relevant photos can mislead your customers. Use photos that reflect the current state of your business.
Tips and Best Practices
Keep these tips and best practices in mind for a successful photo upload process:
- ▸
**Make Regular Updates:** Regularly update your business photos to always provide your customers with the most accurate and current information.
- ▸
**Use Various Angles:** Photos taken from different angles show every aspect of your business to customers. Add both interior and exterior photos for variety.
- ▸
**Encourage Customer Photos:** Encourage your customers to share photos taken at your business. This can help promote your business organically.
Conclusion
Adding photos to Google Maps is an effective way to strengthen your business's online presence. By using accurate and high-quality photos, you can showcase your business's professionalism and appeal to potential customers. Remember, visuals are like your business's digital storefront. Therefore, give the photo upload process the attention it deserves and make regular updates.
If you want to learn more about uploading photos to Google Maps or want to improve your business's online performance, contact us now and get support from our expert team!
Author
ajanslokal Team
We create content about digital marketing strategies and solutions for local businesses.
Bu hizmetten yararlanmak ister misiniz?
İşletmenizi Google'da öne çıkarın. Profesyonel araçlarla yönetin.
Detayları GörGrow Your Business in the Digital World
Be more visible on Google, win more customers. Get your free digital presence audit now!
Get Free Audit